voopoo
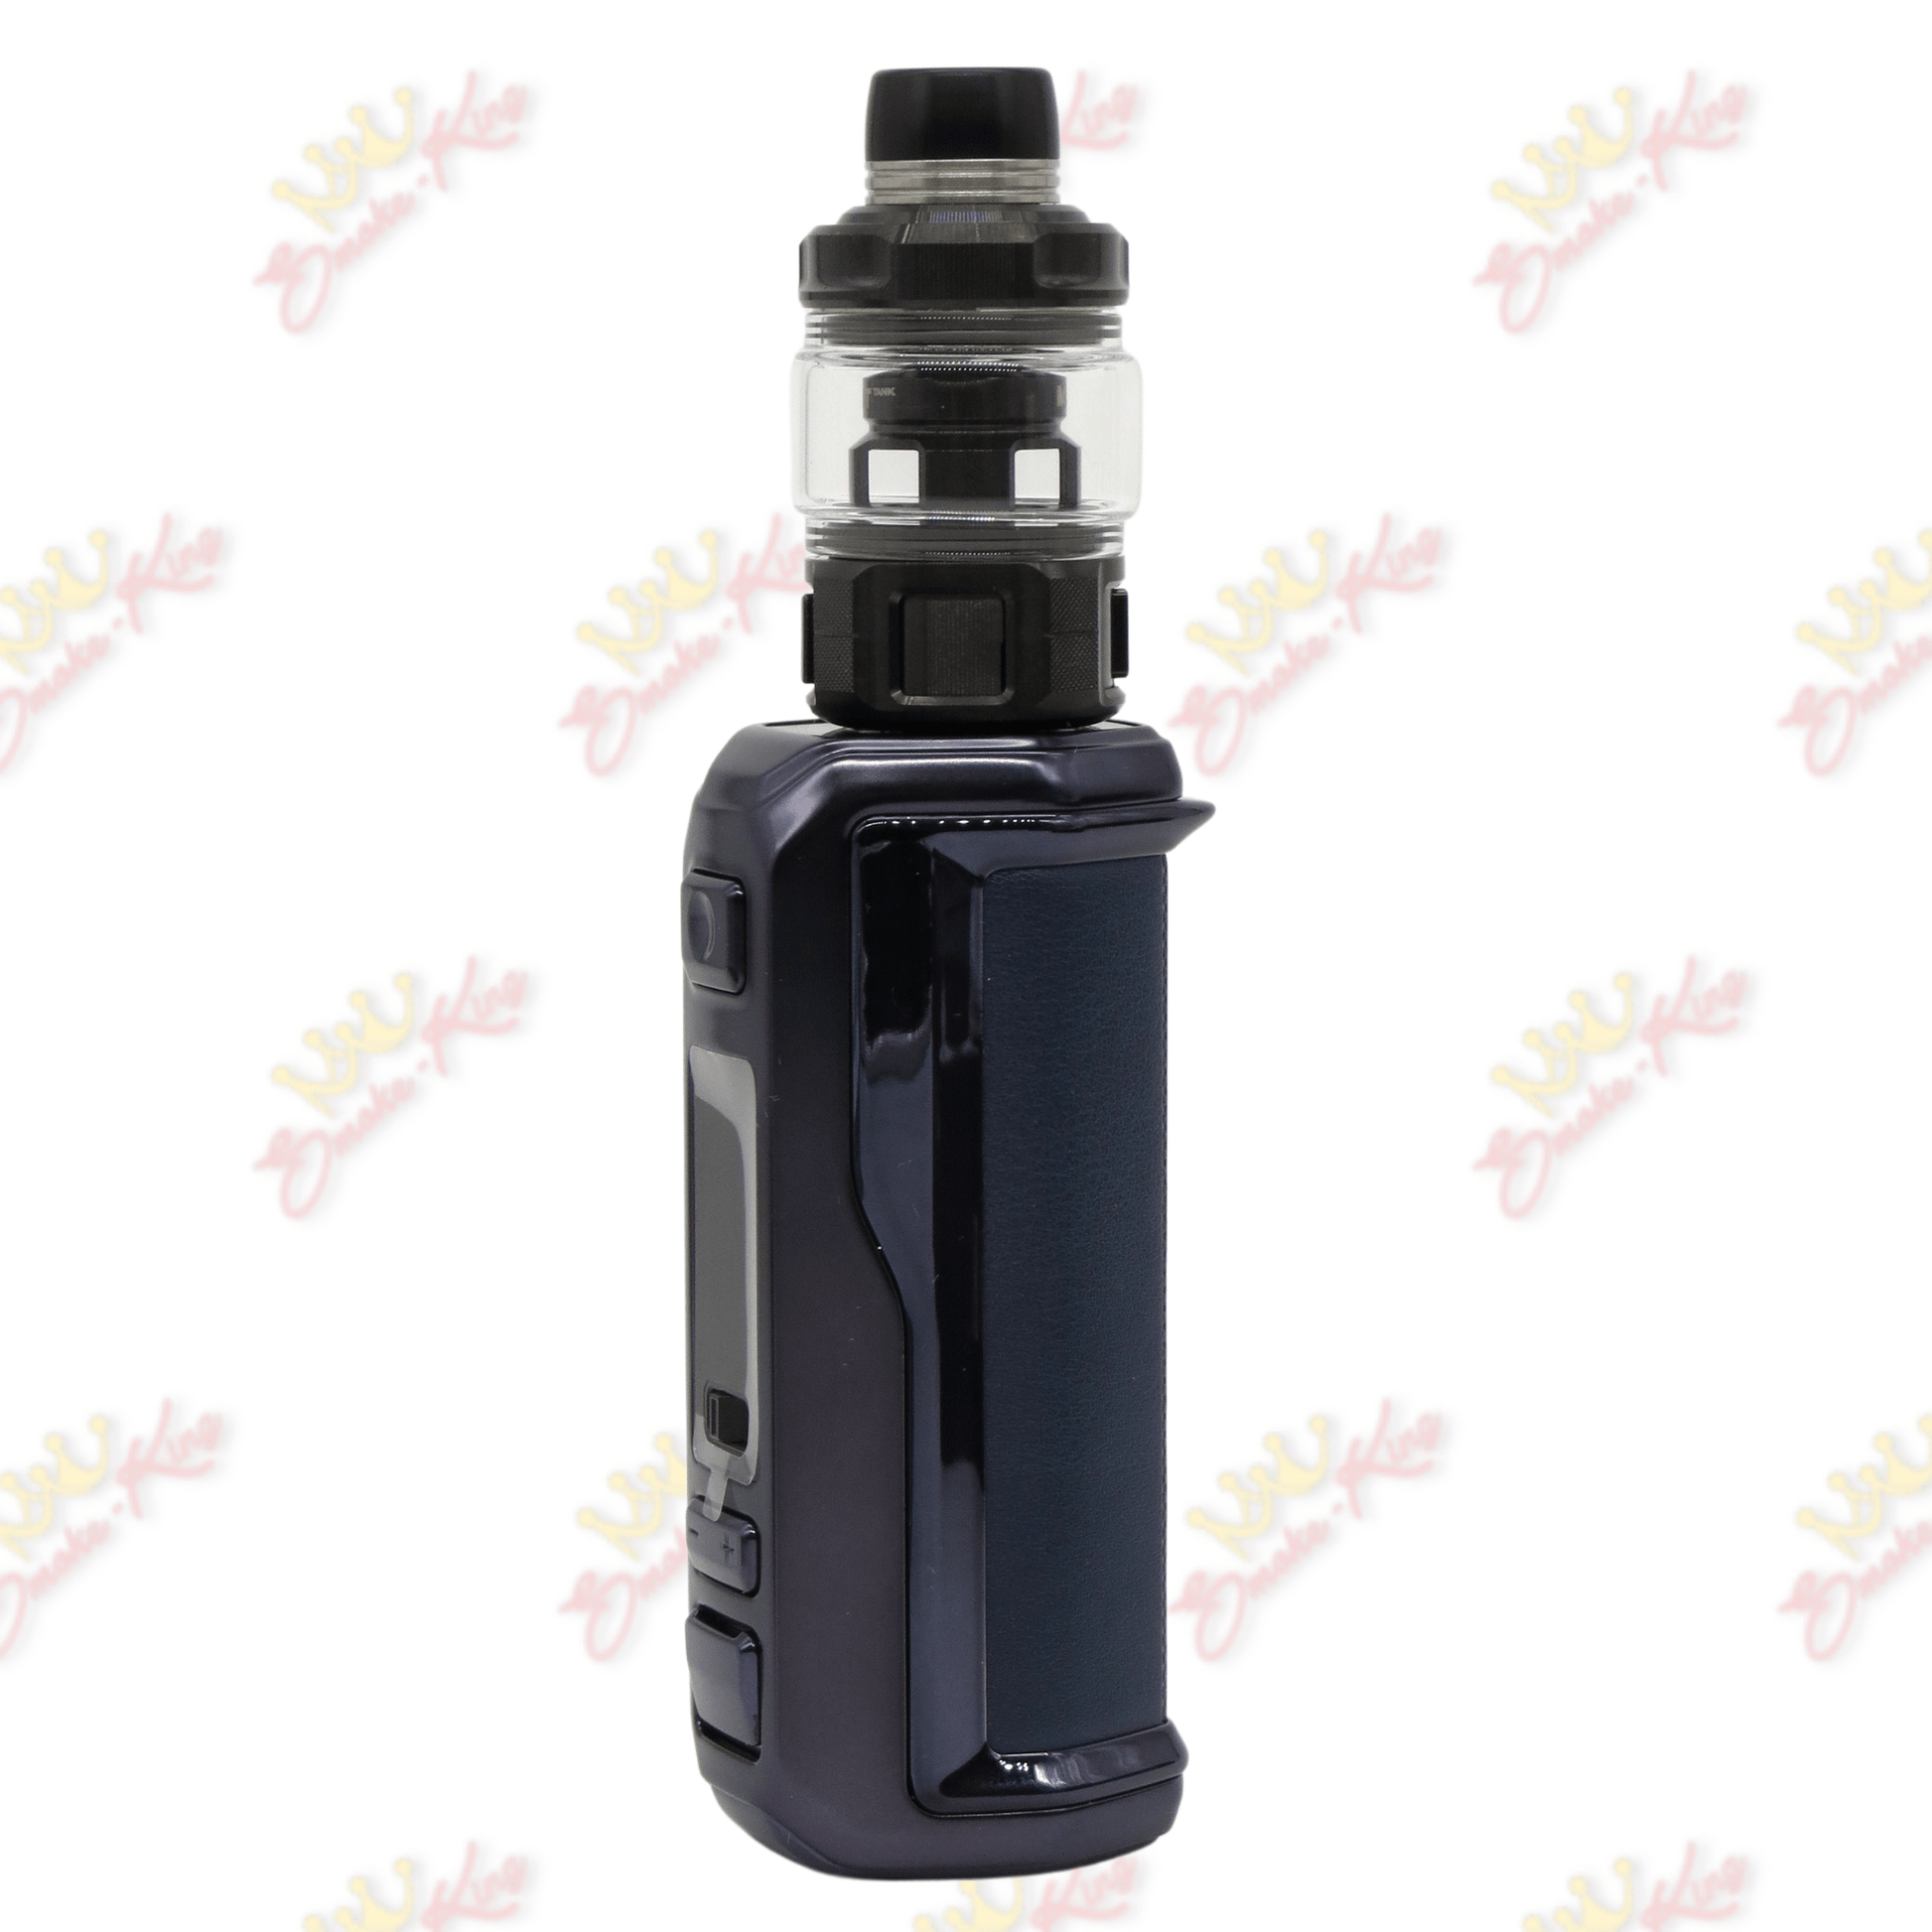
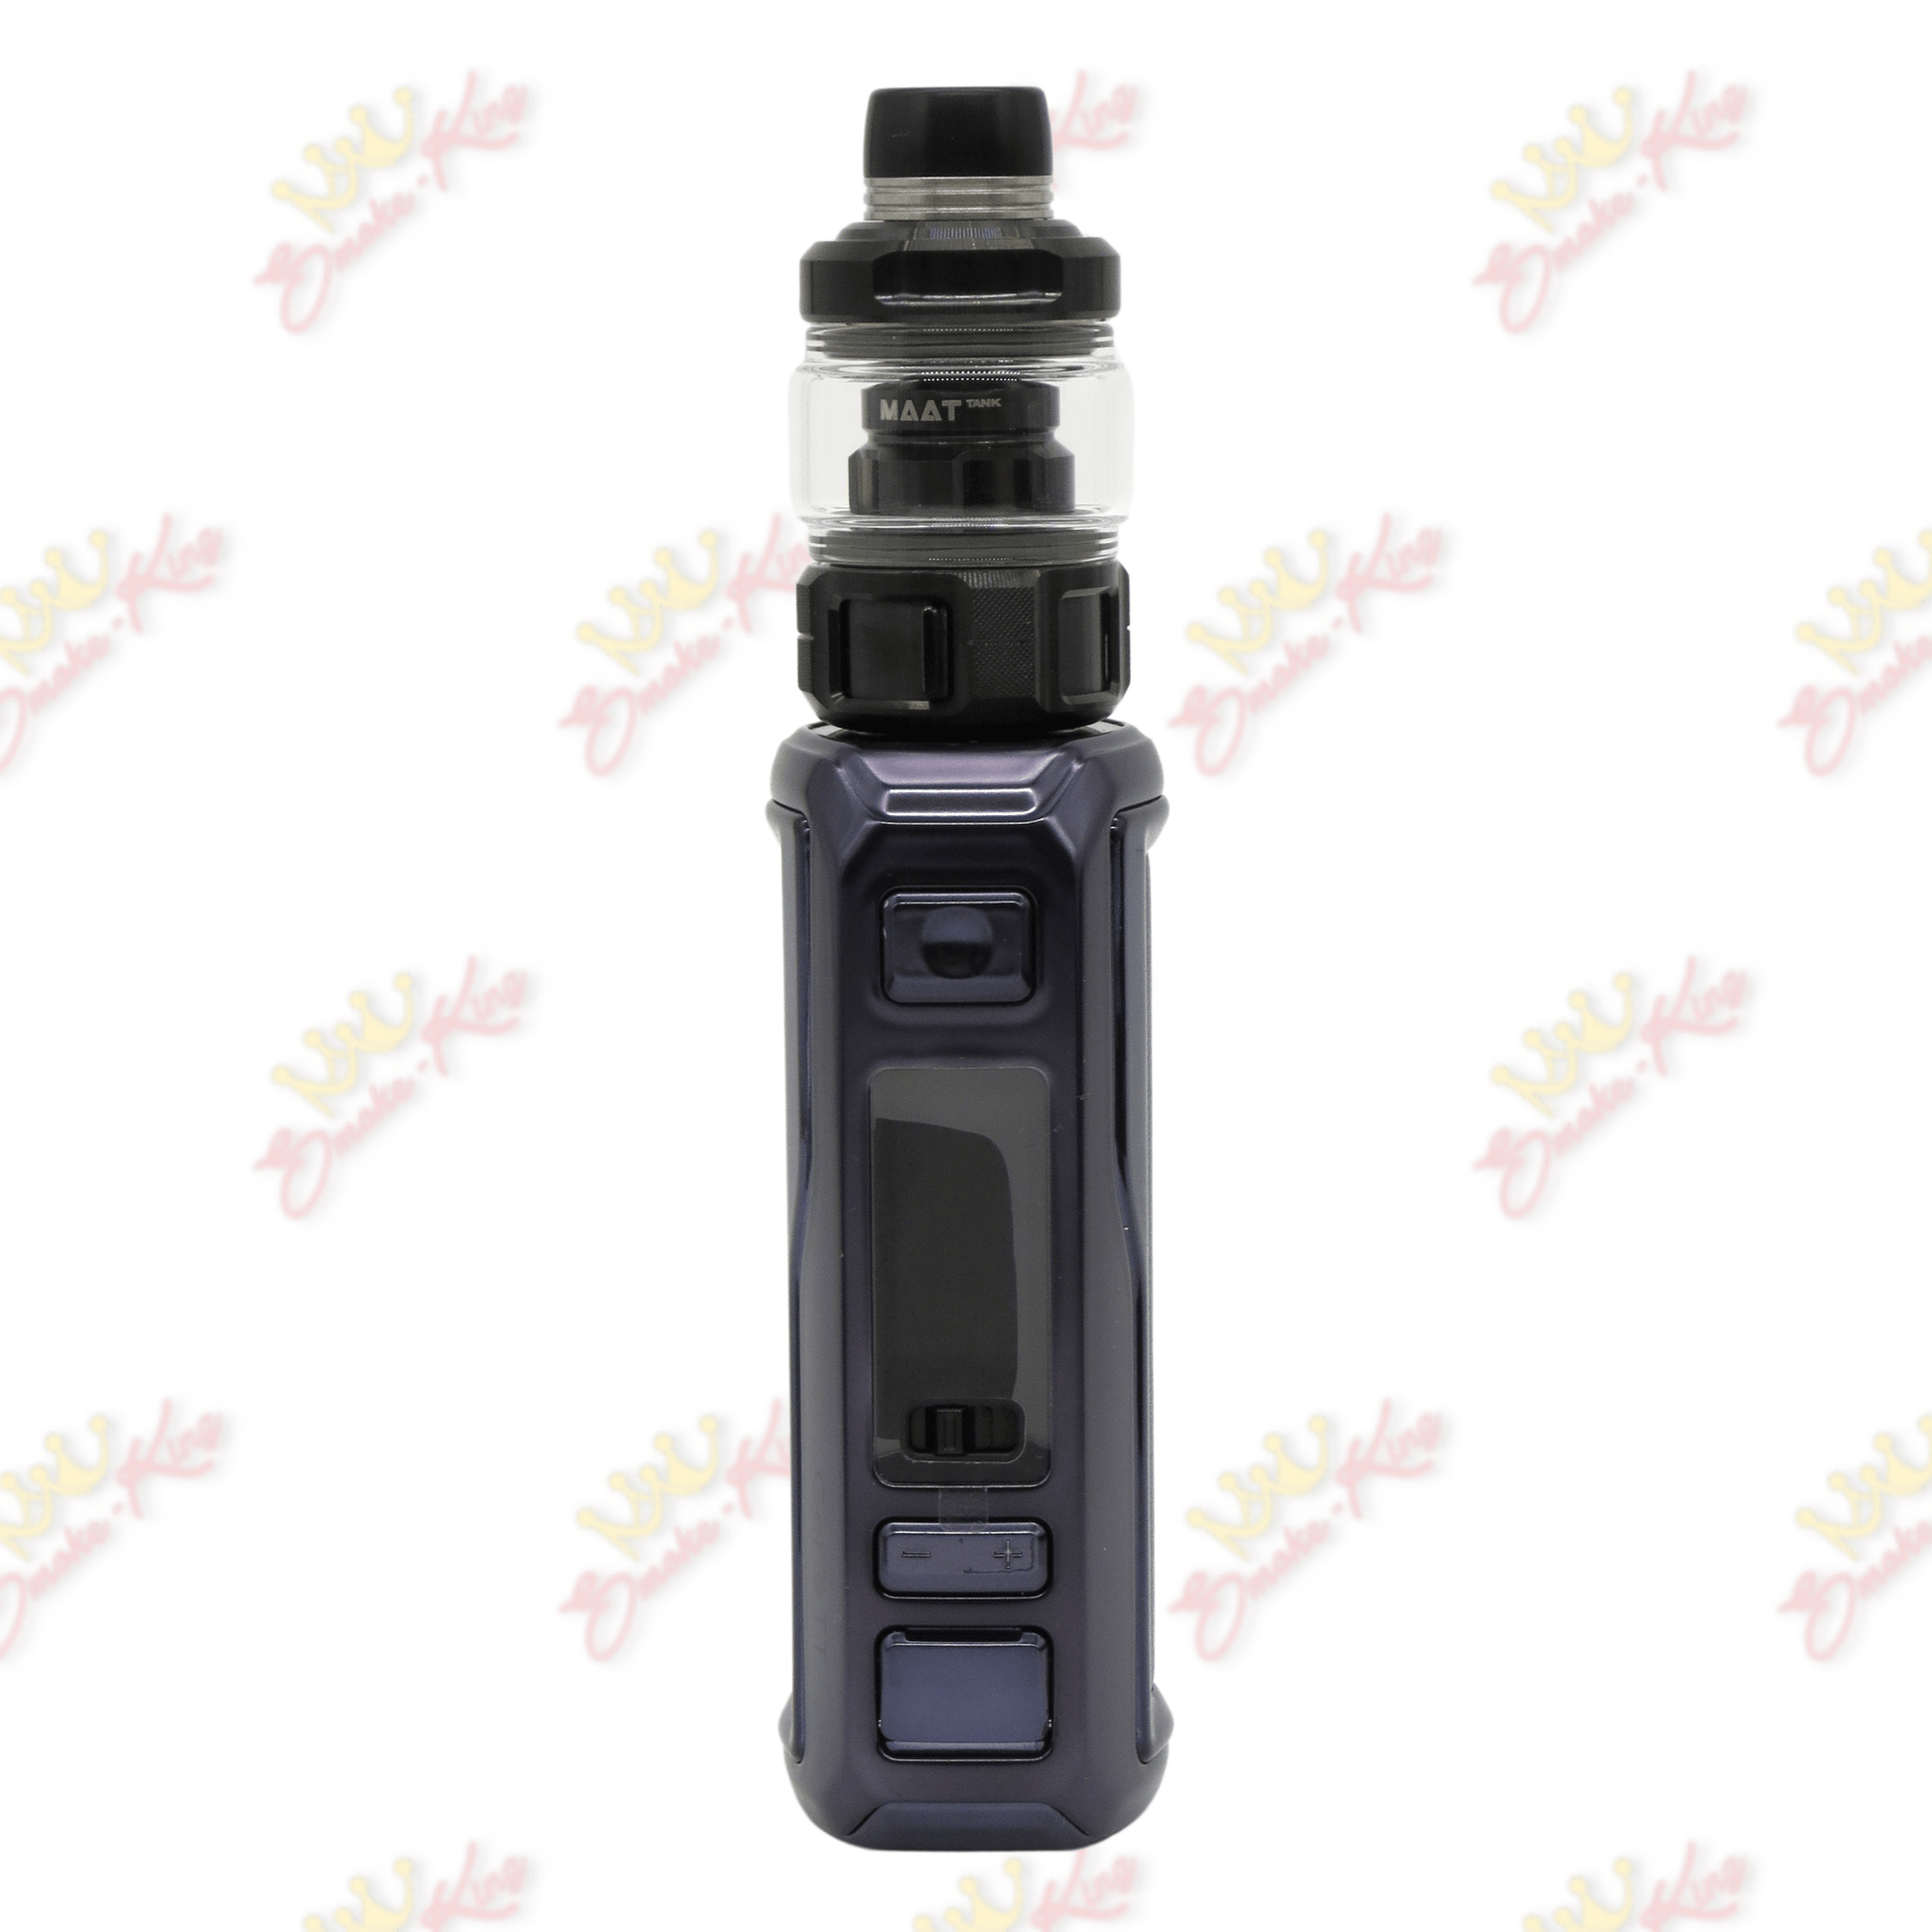
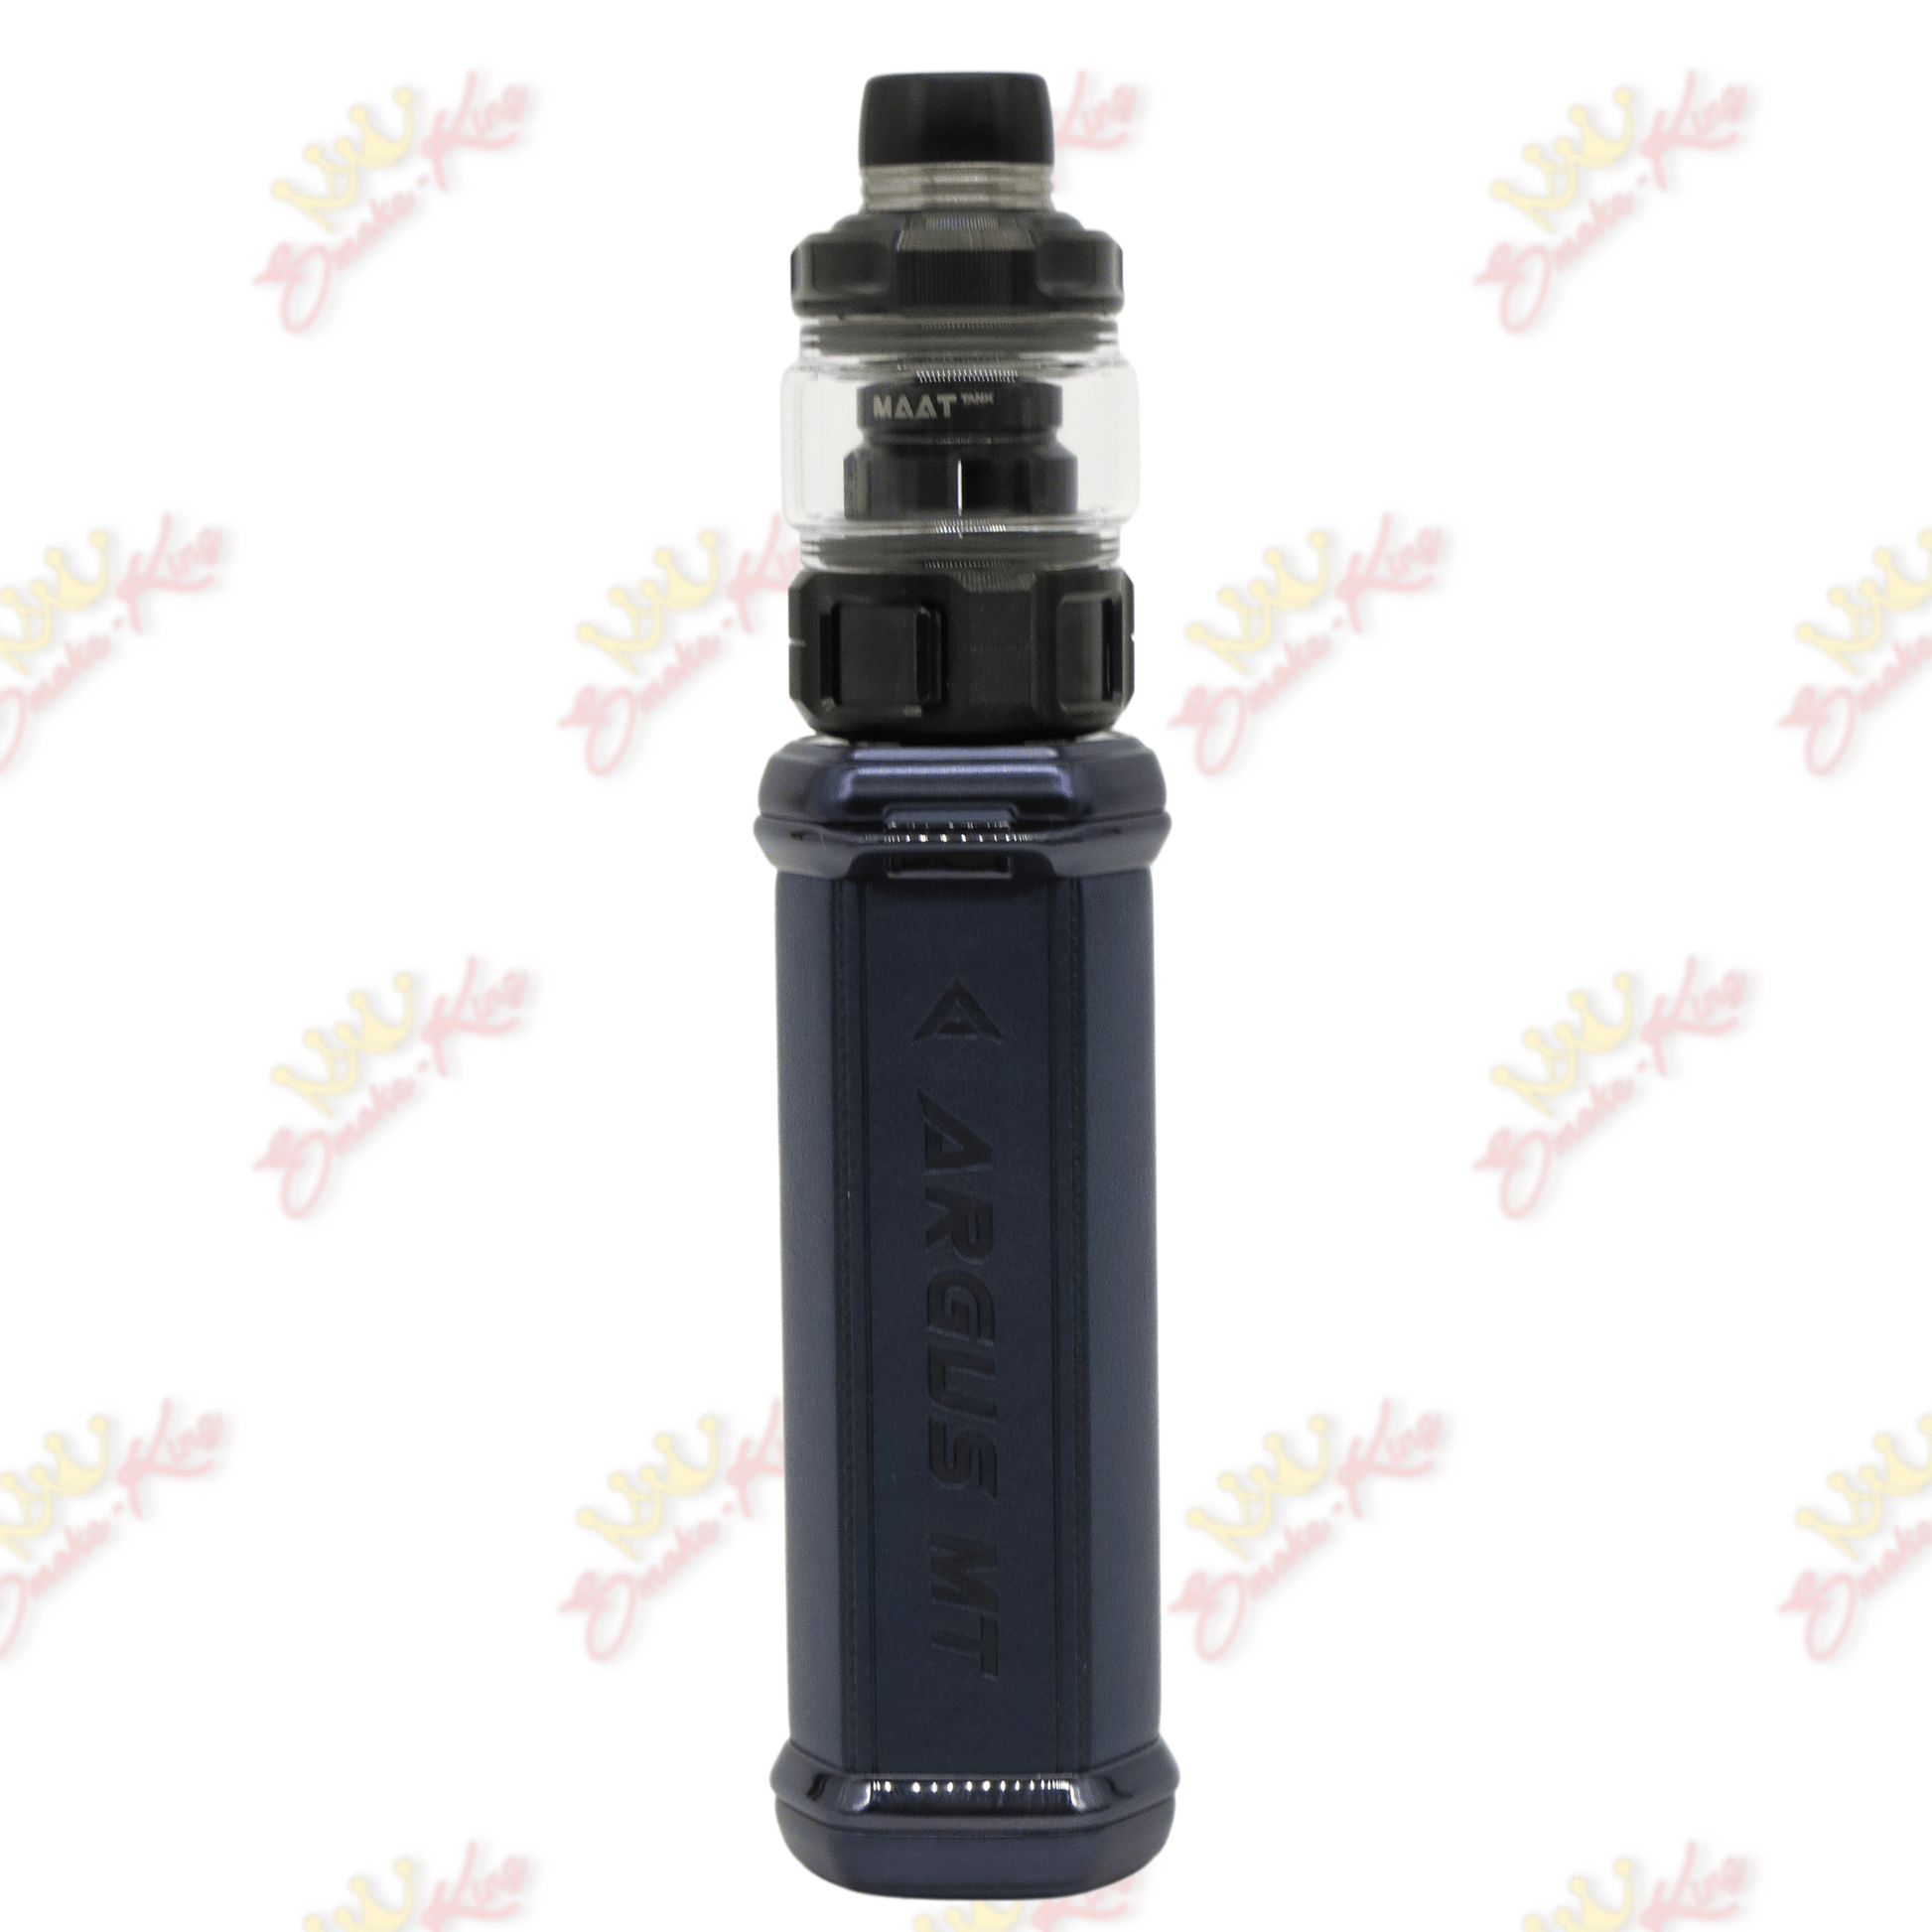
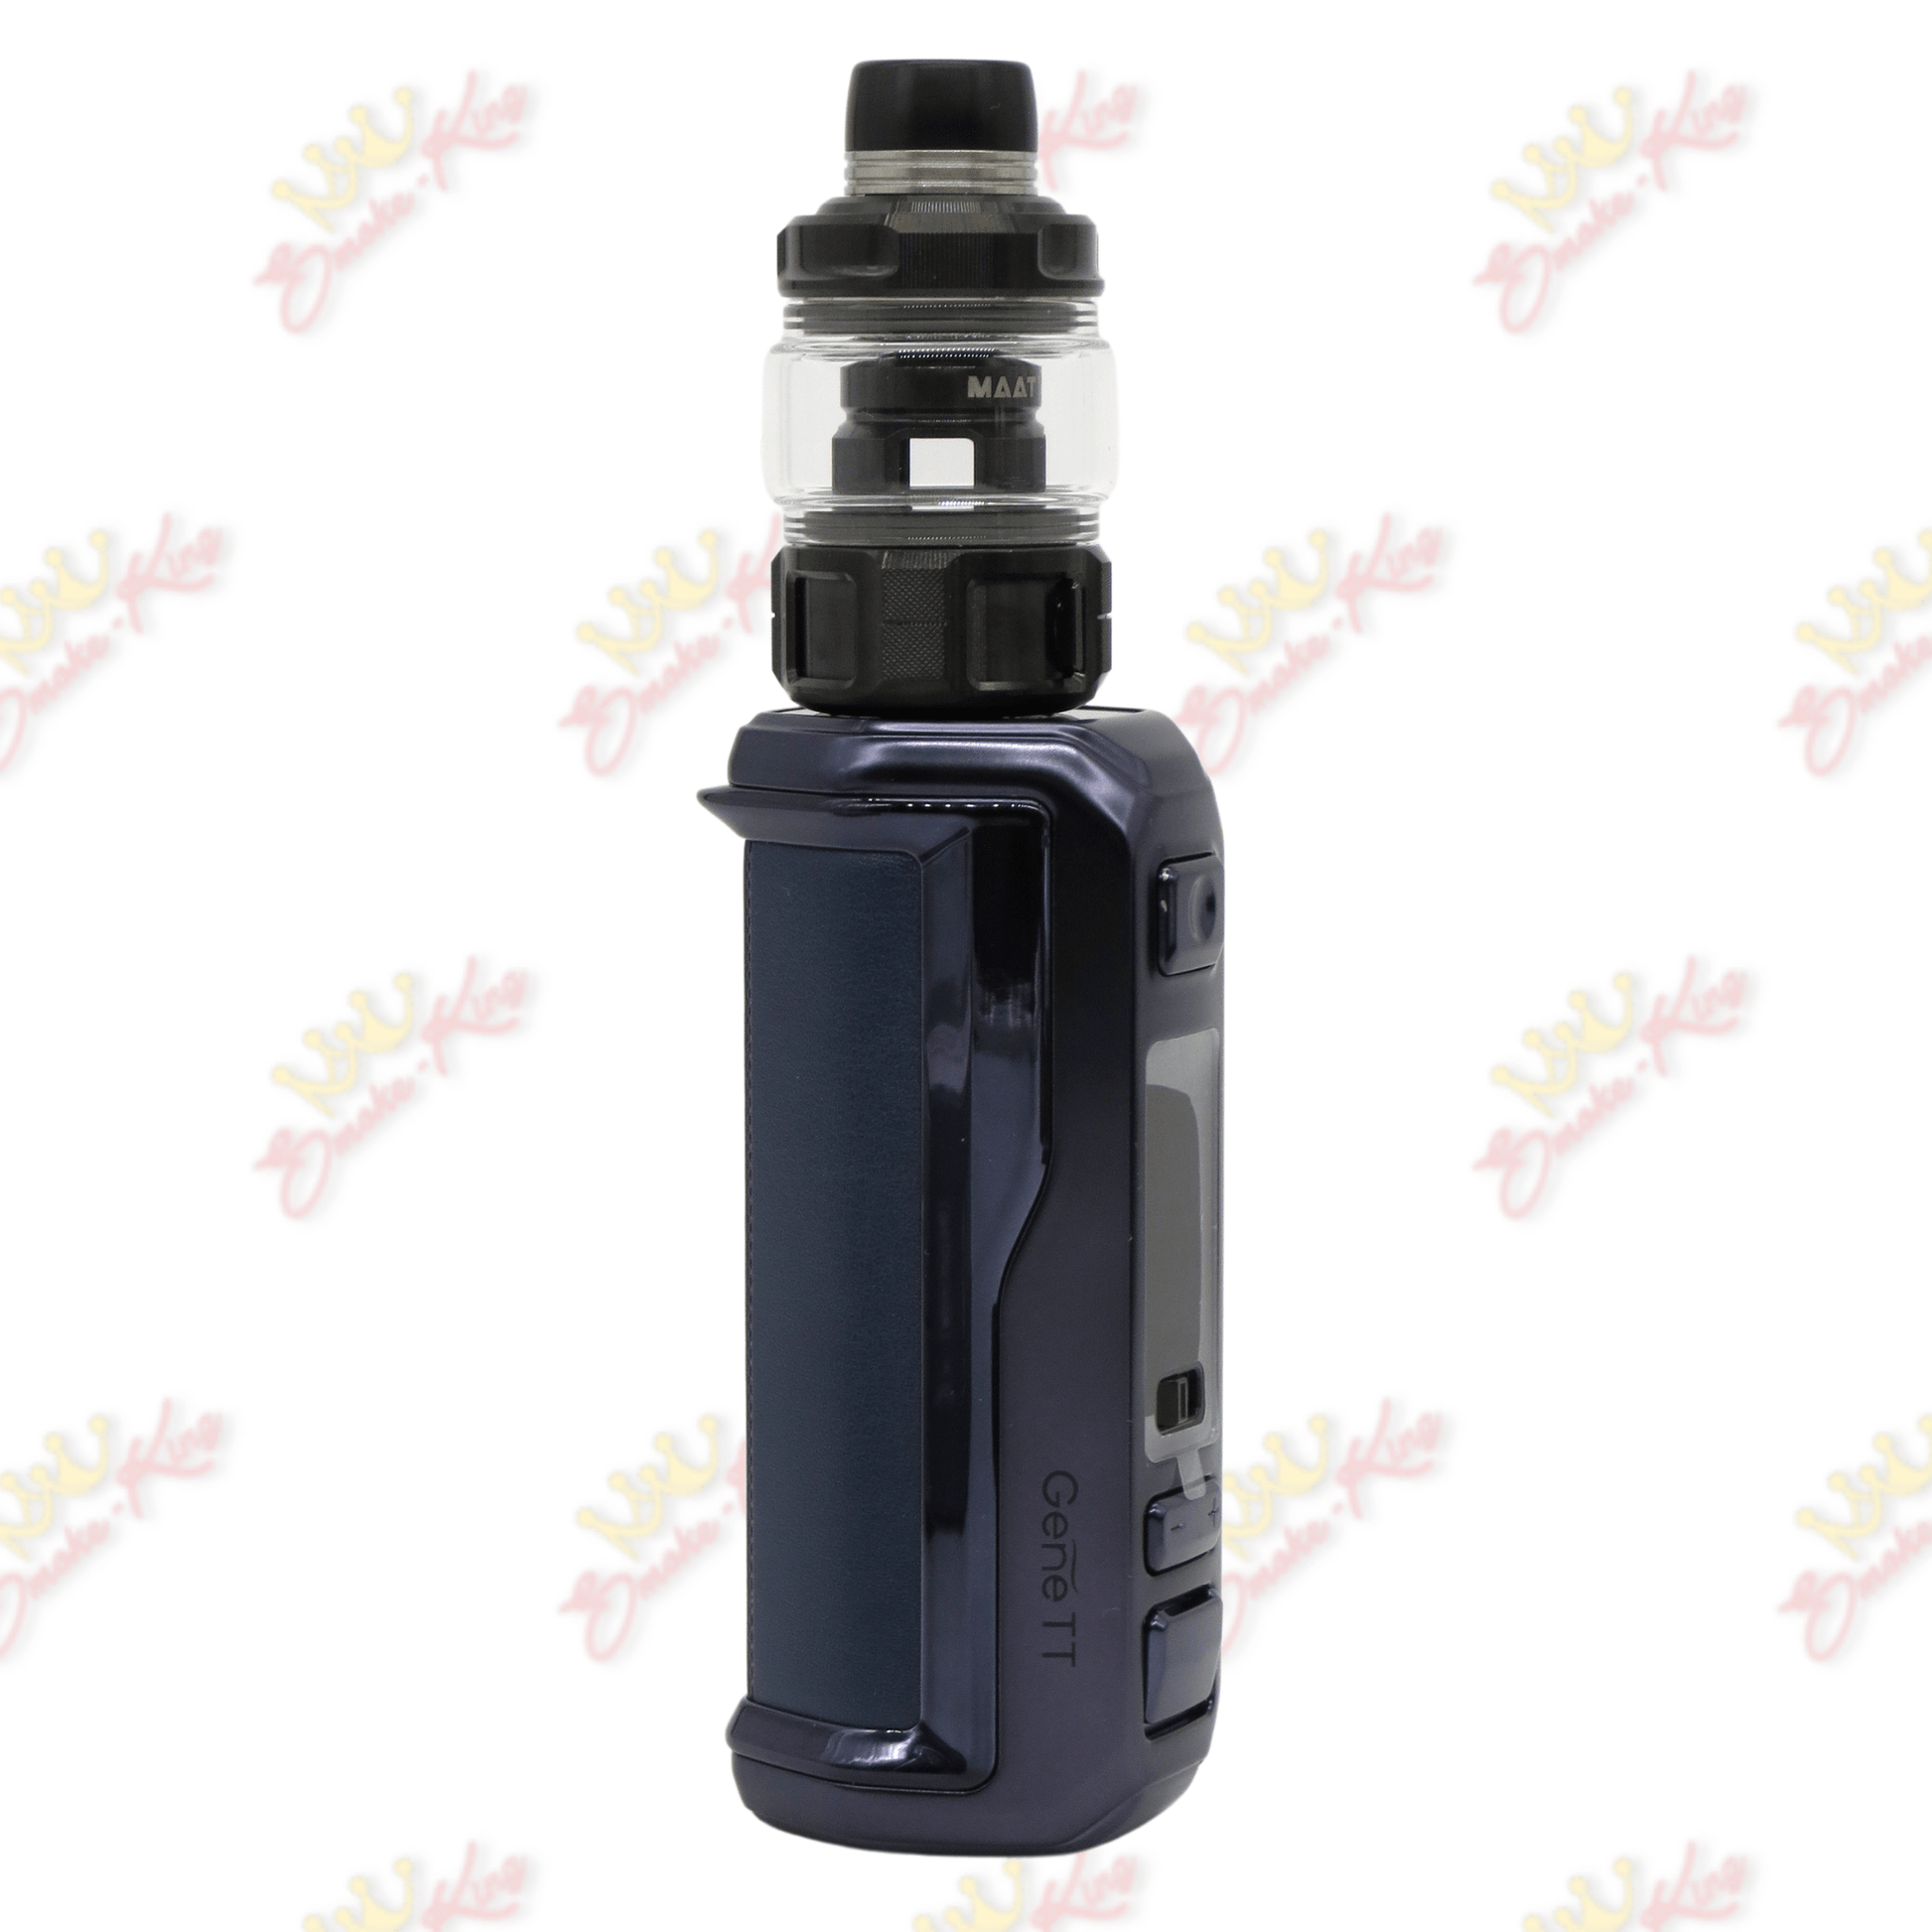
Voopoo Argus MT Kit
Couldn't load pickup availability

Fast Shipping

Discreet Packaging

Secure Payments
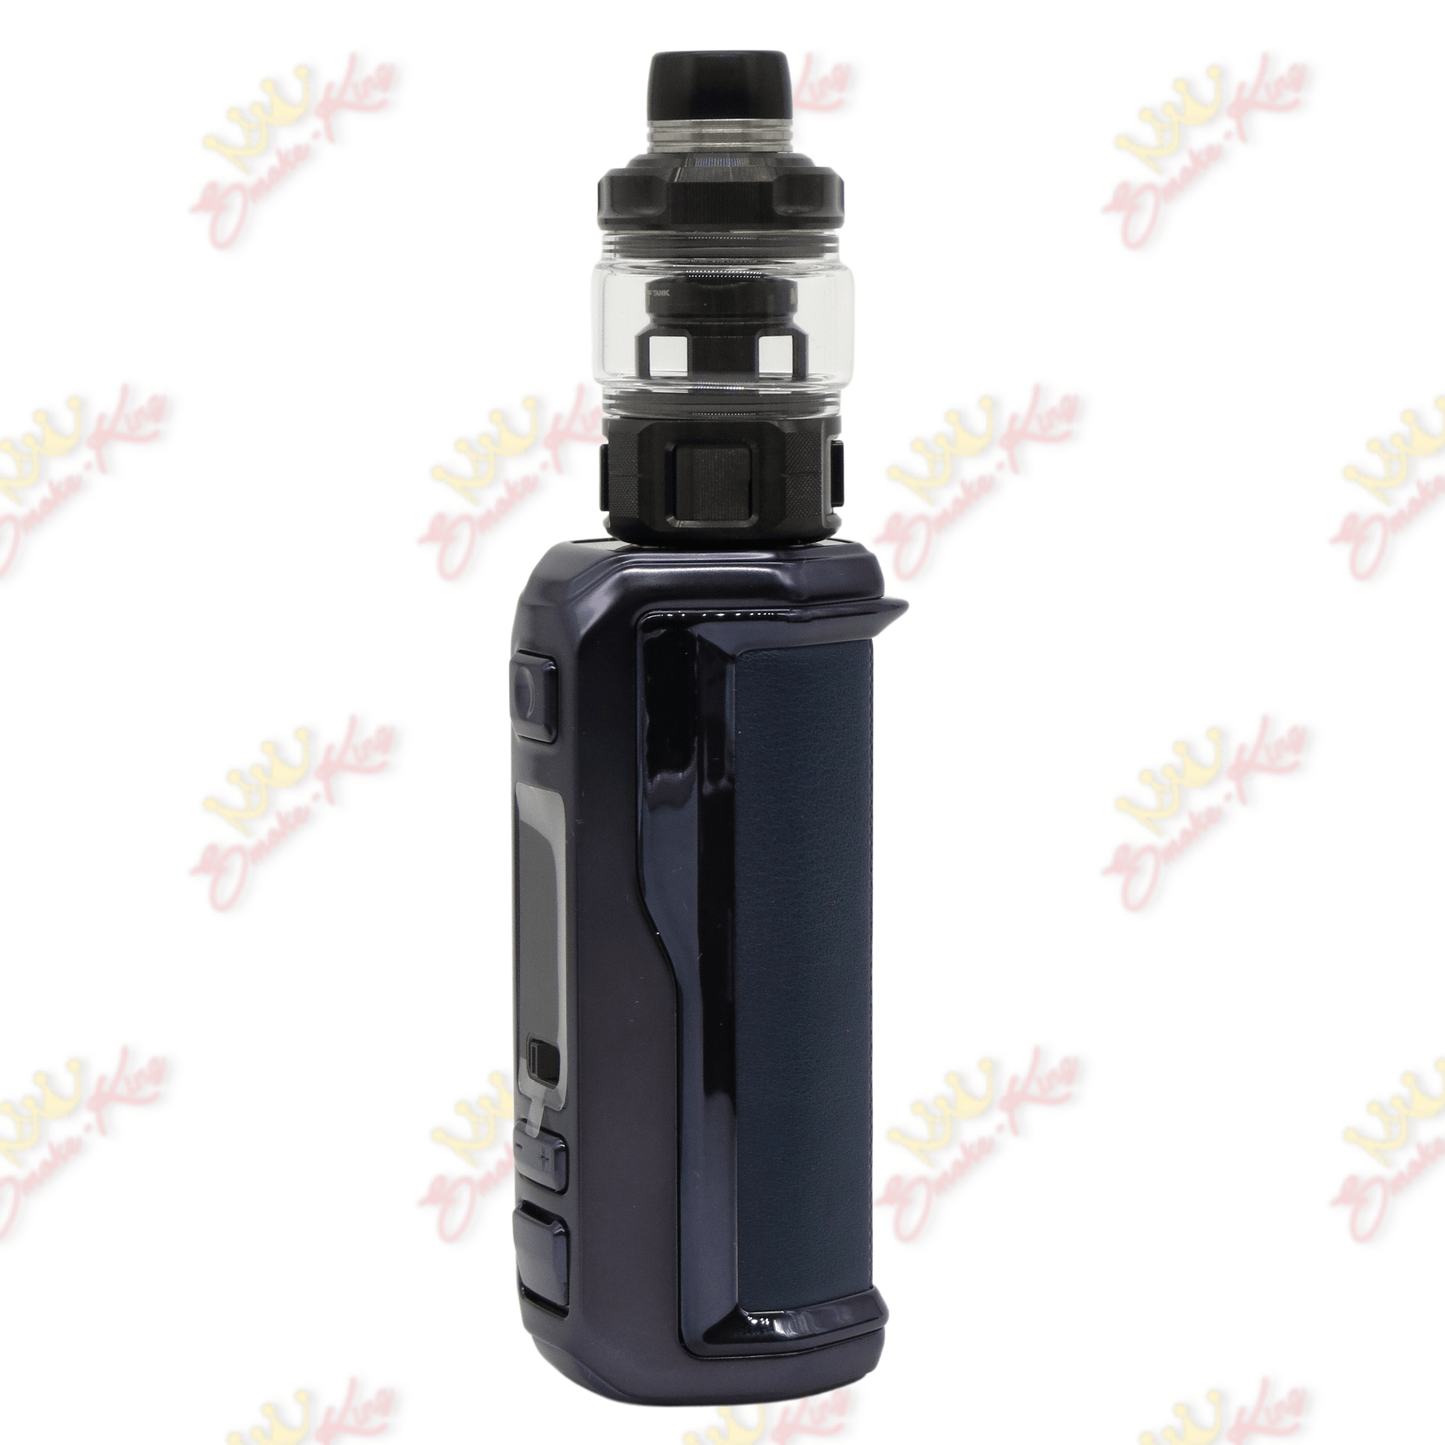
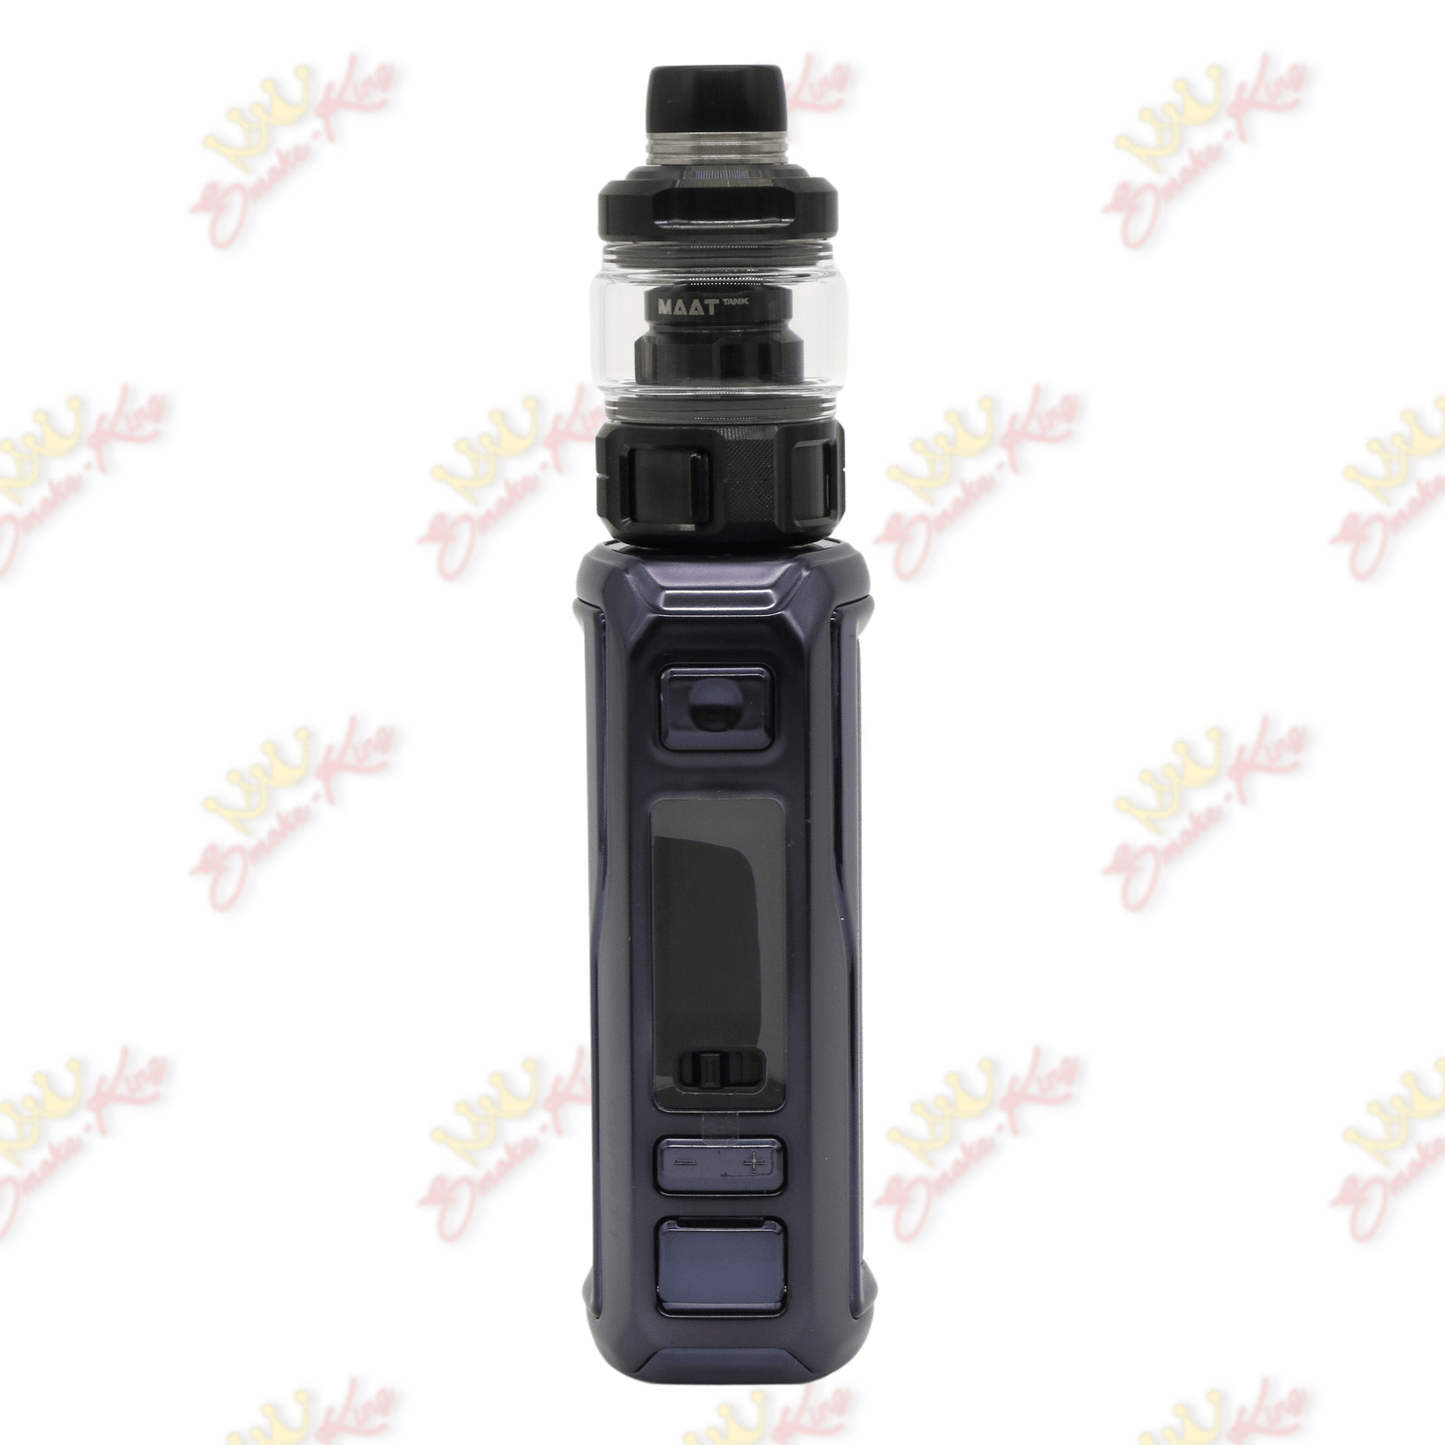


Features:
100W max power, 6.5ml capacity
IP68 rating tri-proof function: water-proof, dust-proof, drop-proof
Ingenious crater leakage-proof structure
GENE.TT 2.0 chip, QS lock
Argus MT is built-in 3000mAh battery
Two-way airflow brings easy deep DL pattern
Easy top filling design
Multiple modes: Smart, RBA, Turbo and TC
BMS real-time battery protection
How To Use Voopoo Argus MT:
Step 1: Battery Installation
-The Voopoo Argus MT Kit uses an internal 3000mAh battery. It doesn't require separate batteries; it's built-in for your convenience.
Step 2: Filling the Pod Tank
-Remove the Voopoo PnP Pod Tank from the device by gently pulling it out.
-Lift the silicone plug located at the bottom of the pod to expose the filling port.
-Fill your e-liquid through the filling port, being careful not to overfill. Leave a small gap to prevent leaks.
-Close the silicone plug securely.
Step 3: Coil Installation
-Unscrew the base of the Voopoo PnP Pod Tank from the tank itself.
-Remove the used coil by unscrewing it from the base.
-Screw in your desired replacement coil. Ensure it's tightly attached.
Step 4: Pod Tank Installation
-Align the flat sides of the PnP Pod Tank with the flat sides of the Argus MT Mod.
-Push the pod tank firmly into the device until it clicks into place.
Step 5: Turning On the Device
-To turn the device on or off, press the fire button five times rapidly.
Step 6: Adjusting Wattage
-Use the "+" and "-" buttons located on the front of the device to adjust the wattage to your desired setting. The wattage range is displayed on the screen.
Step 7: Vaping
-Press and hold the fire button while inhaling to take a puff. Enjoy the flavor and vapor production!
Step 8: Charging
-If your battery is running low, connect the included USB Type-C cable to the charging port located on the bottom of the device.
-Connect the other end of the cable to a suitable USB power source (e.g., computer, wall adapter).
-The device will display the battery charging status on the screen. Once fully charged, disconnect the cable.
Dealing with Leaks:
1. Check for loose connections: Ensure that all components are properly placed together, including the coil and tank.
2. For tank mods: clean and inspect the O-rings: Leaks can sometimes occur due to damaged or improperly seated O-rings. Clean them and ensure they are in good condition.
3. Coil replacement: If the coil is old or damaged, it may cause leaks. Replace the coil with a new one following the priming steps mentioned earlier.
4. Avoid overfilling: Make sure not to overfill the tank, as this can lead to leakage.